Exclusive discounts on bespoke floral arrangements!
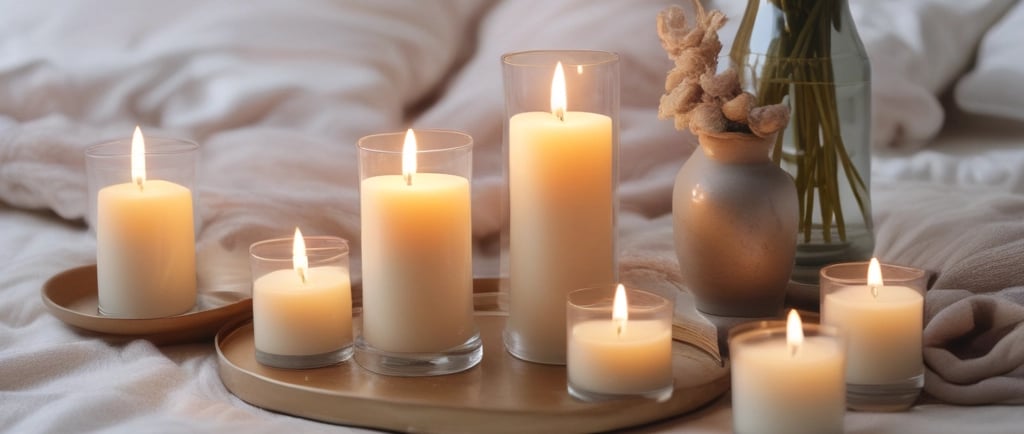
A Beginner's Guide on How to Make Scented Candles
DIY candle making, homemade candles, scented candles, candle craft, cozy home, DIY projects, creative hobbies, easy crafts, step-by-step guide, candle supplies, pouring wax, candle scents, therapeutic DIY, handmade gifts.
8/27/20256 min read
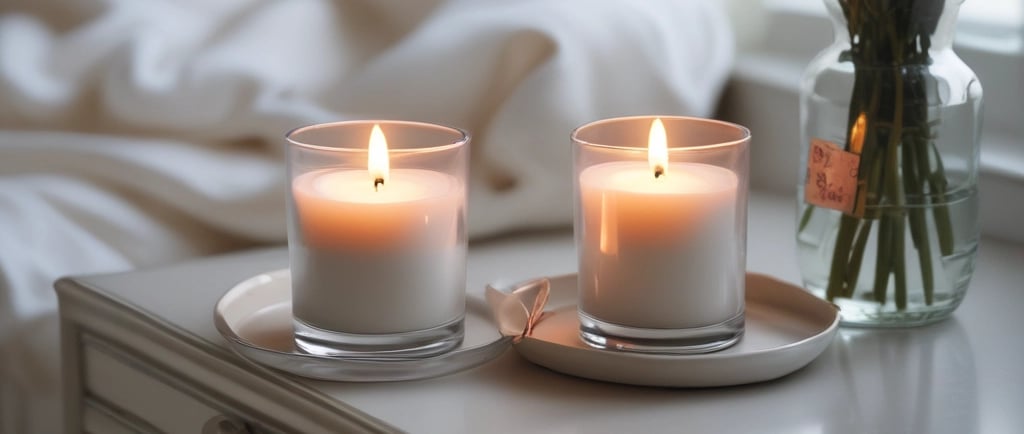

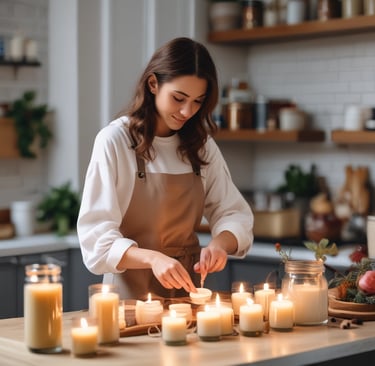
Ever find yourself walking into a room and just sighing with relief because the air smells absolutely amazing? You know what I'm talking about—that perfect blend of cinnamon and vanilla on a crisp autumn evening, or the fresh, clean scent of linen on a bright spring morning. Candles do that for us, don't they? They're more than just a source of light; they're mood-setters, memory-makers, and a little piece of comfort. But have you ever thought about making your own?
Honestly, it's not as intimidating as it sounds. In fact, it's one of the most wonderfully therapeutic and surprisingly easy DIY projects out there. There's a certain magic to it—transforming a handful of wax flakes into a fragrant beacon of coziness. You get to be the alchemist, choosing the perfect scent, the ideal container, and even the tiny details that make it uniquely yours.
So, if you're ready to trade your weekend screen time for some good old-fashioned hands-on fun, stick with me. We're going to walk through the entire process, from gathering your gear to lighting that first beautiful, fragrant flame.
What's the Big Deal with Making Your Own?
Sure, you could just buy a candle from the store. And sometimes, that's exactly what you should do. But there's something genuinely special about a homemade scented candle. For one, you're in total control. You can pick a wax that’s a little more eco-friendly, like soy or beeswax, which burn cleaner than traditional paraffin. You can also mix and match fragrances to create a scent profile that you won't find on any shelf. Imagine a custom blend of sandalwood and fig, or maybe a playful mix of grapefruit and basil. The possibilities are truly endless.
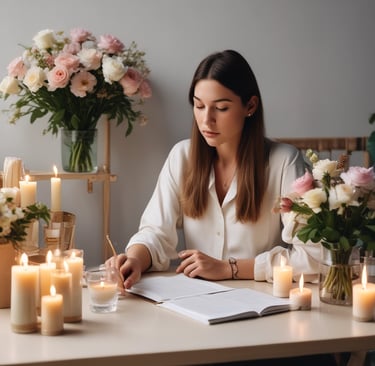
Beyond that, the process itself is just plain good for the soul. It's a chance to slow down, be present, and create something beautiful. And let's not forget the bragging rights—you made that! It’s the perfect handmade gift, a little jar of love and light you can share with friends and family.
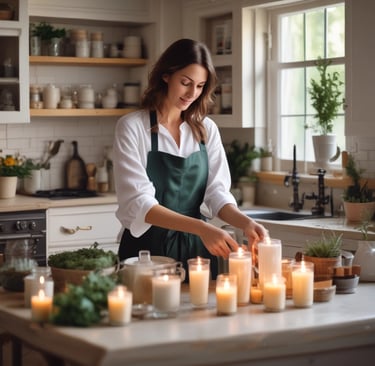
Ready to Roll? Let’s Talk Tools and Ingredients
Before we get our hands waxy, we need to gather our supplies. Don't worry, you probably have a lot of this stuff around the house already. Think of it less as a shopping list and more as a scavenger hunt.
The Essentials:
Wax: Soy wax flakes are a fantastic starting point for beginners. They're easy to work with and give off a great "cold throw" (the scent of the unlit candle) and "hot throw" (the scent while burning). Other options include beeswax or coconut wax.
A Wick: These little guys are the heart of your candle. Make sure you get wicks that are the right size for your container. A wick that’s too thick will burn too fast and create a lot of smoke, while one that’s too thin will "tunnel," leaving a ring of un-melted wax around the edge.
Fragrance: This is where the magic happens! You can use either essential oils or fragrance oils. Here's the thing: essential oils are natural and offer a gentle, subtle scent, which is great for aromatherapy. However, they're often more expensive and can be a bit finicky. Fragrance oils, on the other hand, are specifically formulated for candle making and are known for their strong, consistent scent. Most professional candle makers lean towards them because of their reliability and the sheer variety of scents available.
A Container: This is your canvas. Mason jars, old teacups, even a washed-out pasta sauce jar—just make sure it's made of heat-safe glass or metal.
Melting Equipment: You’ll need a double boiler, which you can easily make by placing a smaller pot or a dedicated pouring pitcher inside a larger pot filled with a few inches of water. It's the safest way to melt wax without scorching it.
A Thermometer: This is crucial. The temperature of your wax determines everything, from how well the fragrance blends to how your candle looks once it's set. A simple candy or digital thermometer will do the trick.
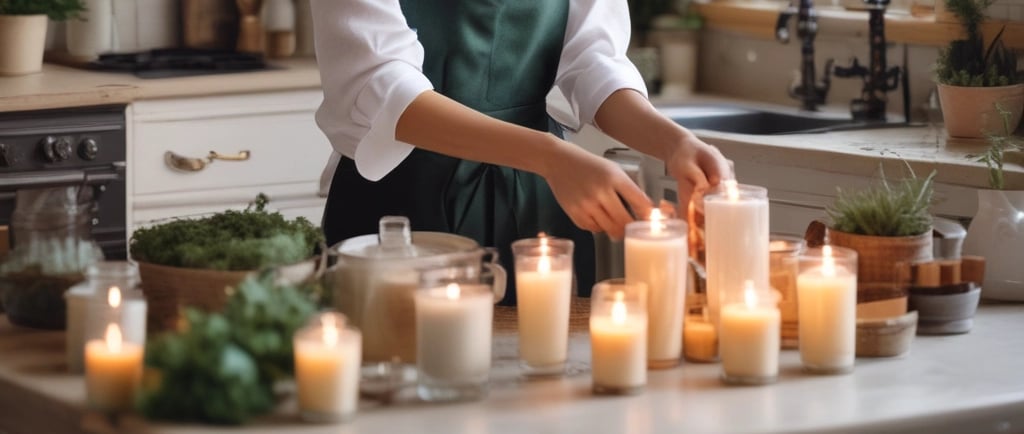
The Art of the Pour: A Step-by-Step Guide
Alright, supplies in hand, let's get down to business. Making your own candles is all about timing and a little bit of patience.
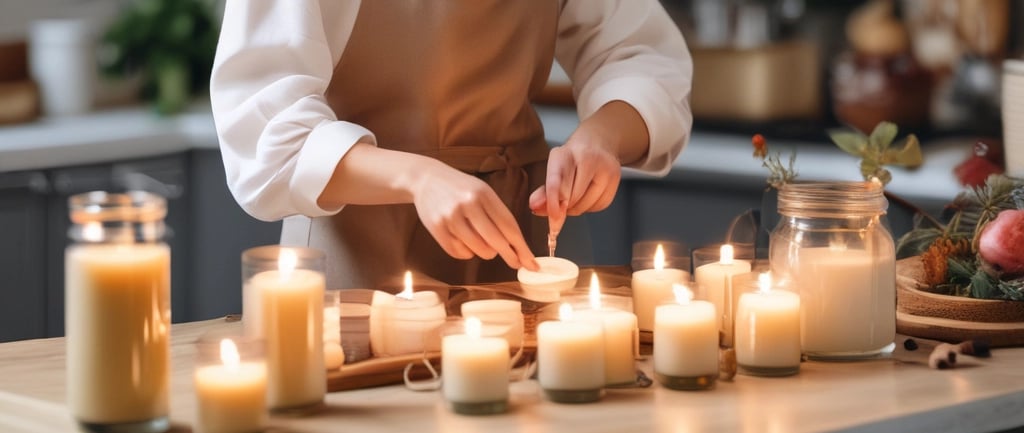
Prepare Your Space and Your Containers.
First things first, get your workspace ready. Lay down some newspaper or an old towel to catch any spills. It's a lifesaver, trust me. Now, grab your containers and make sure they're squeaky clean and dry. Use a dab of hot glue or a wick sticker to secure the metal base of your wick to the very center of the container's bottom. This little anchor is key for a good, even burn later on.
Measure and Melt Your Wax.
Here’s where you get to put your math skills to work. Fill your container with wax flakes to figure out how much you need. Then, pour those flakes into your pouring pitcher. Place the pitcher in your double boiler and turn the heat to medium-low. As the wax melts, stir it occasionally with a skewer or stirring stick. It'll go from a solid to a translucent liquid, looking a lot like melted butter or olive oil.
The Crucial Temperature Check.
Once the wax is fully melted, pull it off the heat and let it cool. The magic number here is usually around 185°F. You see, if the wax is too hot when you add your fragrance, the scent will just burn off. The fragrance load, or how much oil you add, is typically between 6% and 10% of the wax's weight. So for every 100 grams of wax, you'd add 6 to 10 grams of fragrance oil. Stir it gently for a full 90 seconds to make sure it's fully blended.
The Final Pour and Cool Down.
Now for the grand finale. Slowly and carefully pour the wax into your prepared containers, leaving a little room at the top. Use a wick holder or a clothespin to keep that wick perfectly centered. Let the candles set undisturbed at room temperature for at least 24 hours. And here’s a pro tip: if you want a really smooth, professional-looking top, wrap your jars in an old towel while they cool to help them solidify more slowly and evenly.
Once they're solid, go ahead and trim the wicks. A good rule of thumb is to leave about a quarter-inch of wick poking out. And remember, you'll need to trim it before every burn to ensure a clean, even flame. Now, the hardest part: waiting. Curing your candle for a week or two will make the scent so much better, so try to be patient!

FAQs: How to Make Scented Candles
Q: Why do my candles have a bumpy or uneven top after they've set?
A: Oh, that's a common one! It's usually a result of the wax cooling too quickly. When you pour, try doing it slowly and at a slightly cooler temperature (around 135-145°F). You can also preheat your containers with a hairdryer to prevent a sudden temperature drop. Sometimes, a quick fix is to use a heat gun or hairdryer on the very top layer of the cooled candle to smooth it out.
Q: Why isn't my candle's scent very strong?
A: This could be a few things! It might be that you didn't add enough fragrance oil, or you added it when the wax was too hot, causing the scent to dissipate. Also, your candle needs to "cure" for at least a week—that's a fancy term for allowing the wax and fragrance molecules to bond together. Trust me, the wait is worth it for a stronger scent throw.
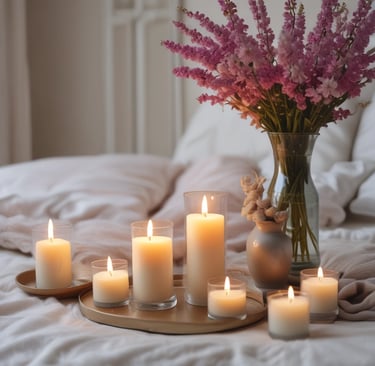
Q: Can I use dried flowers or herbs in my candles?
A: Yes, you can! They add a beautiful, natural touch. Just be careful to place them away from the wick. If they're too close, they can catch fire, which is, you know, not ideal. A good rule of thumb is to place them on the top layer of the candle, or gently stir them into the melted wax, making sure they don't settle too close to the wick.
Little More Than a DIY Project
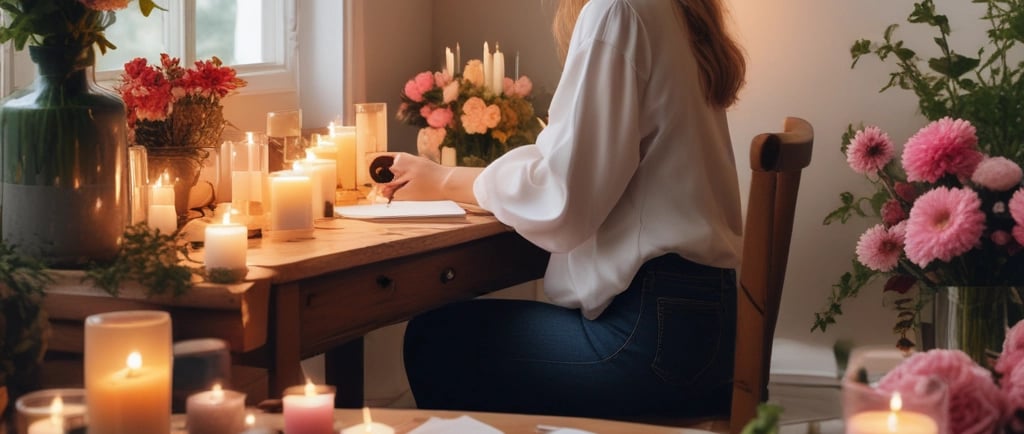
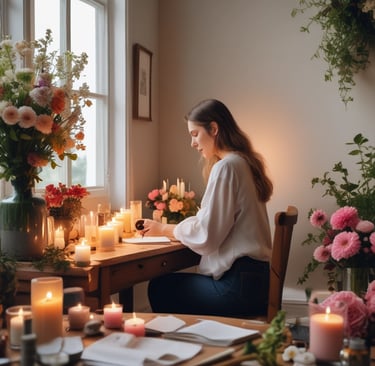
Making your own candles is more than just a craft. It's a way to personalize your space and your life with scents that bring you joy. It's a chance to use your hands to create something tangible and beautiful, something that offers a moment of peace in a hectic world.
So, go on, give it a try. You might just surprise yourself with how rewarding it is. Who knows, maybe you'll have a new hobby and a home that smells exactly like happiness.
Floral
Bespoke arrangements for every cherished moment.
Nature
Artistry
Contact Us Today
We answer emails within 24 hours
© 2024. All rights reserved.