Exclusive discounts on bespoke floral arrangements!
The Surprisingly Easy Art of Plaster Dipped Flowers
DIY dollar store decor, budget-friendly home decor, plaster dipped flowers, DIY art projects, high-end home decor for less, creative crafting, sculptural art for beginners, dollar store crafts, handmade home accents.
8/27/20256 min read
You know that feeling when you walk into a beautifully decorated room and just want to know its secret? Sometimes, it's a big-ticket item—a stunning piece of furniture or an incredible painting. But honestly? More often than not, it's the little details, the personal touches that make a space feel like home. And here’s the thing, creating those details doesn’t have to cost a fortune. In fact, some of the most charming pieces of home decor DIY come from the most unexpected places.
And I’m talking about the Dollar Store.
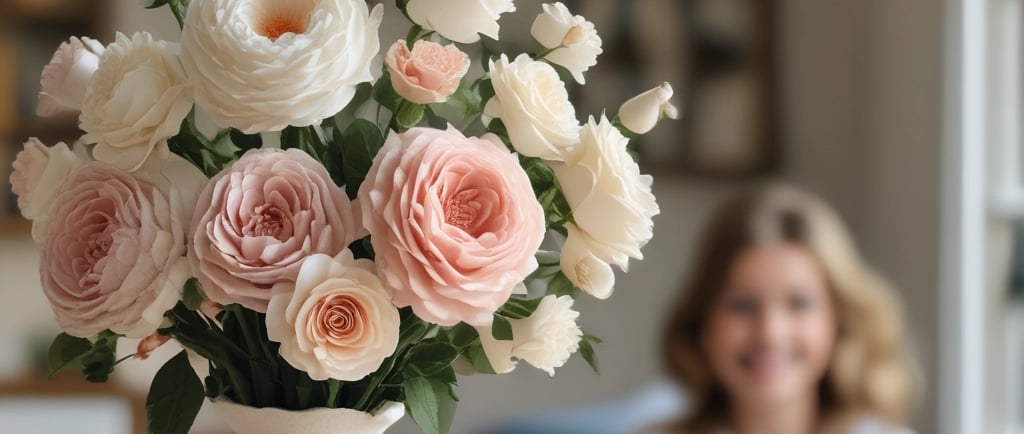
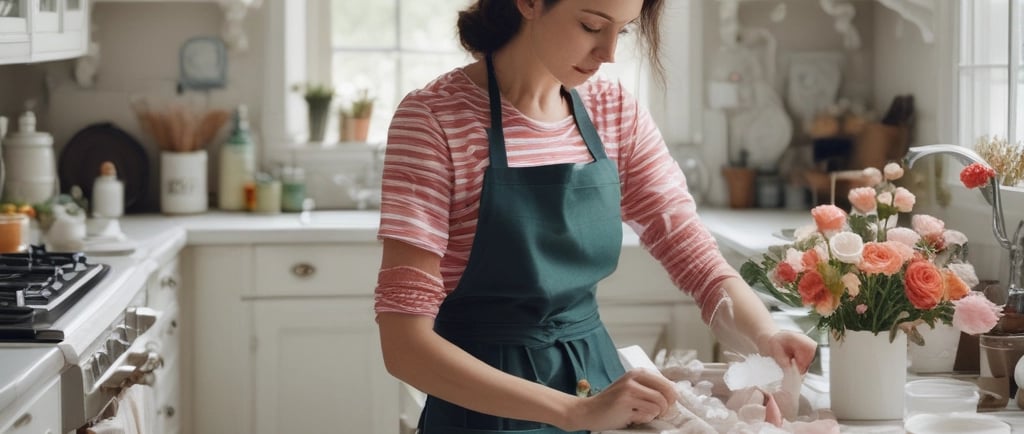
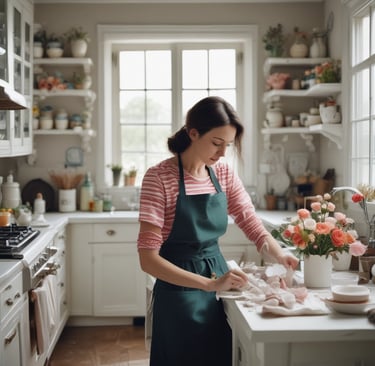
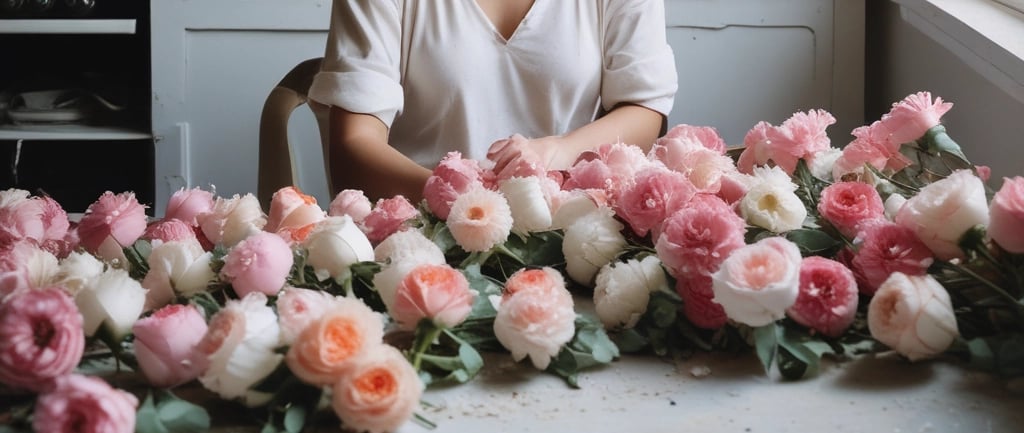
Yes, seriously. That’s where the magic for today’s project begins. We're going to transform humble, inexpensive dollar store flowers into exquisite, timeless pieces of plaster dipped art that look like they could be in a high-end boutique. We’re going to make plaster flowers. If you’ve ever wanted to try your hand at sculptural art but felt a little intimidated, this is your entry point. It’s an easy, low-stress craft project that yields truly stunning results. Let me show you how.
Let’s Get Real: What Exactly Are We Doing Here?
Okay, so let's break down the big idea. We're going to take artificial flowers, the kind you can find for next to nothing, and give them a spa day in a bath of Plaster of Paris. This isn’t about making a mold; it’s about giving the delicate, flexible petals of the faux flowers a hard, permanent shell. It's an upcycled art project at its finest. The plaster hardens, preserving every little detail, from the soft curves of a rose petal to the delicate folds of a daisy. The result is a piece of flower art that captures a moment in time, frozen in a beautiful, minimalist form.
You might be thinking, "But won't that make them look heavy and clunky?" It’s a fair question. The short answer is no, not if you do it right. The trick is a very light touch and the right plaster consistency. The goal is to coat the flowers, not to bury them. The finished pieces have a wonderful, matte, chalky texture that is just to die for. They feel like little relics—a perfect fit for a shabby chic decor or cottage style aesthetic.
What You'll Need (Spoiler Alert: It’s Not Much)
The beauty of this project is its simplicity. You don't need a professional art studio or a huge budget. Just a few key items and a little bit of patience.
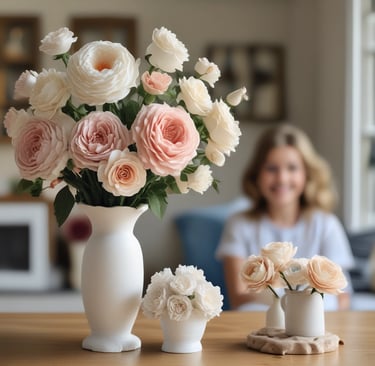
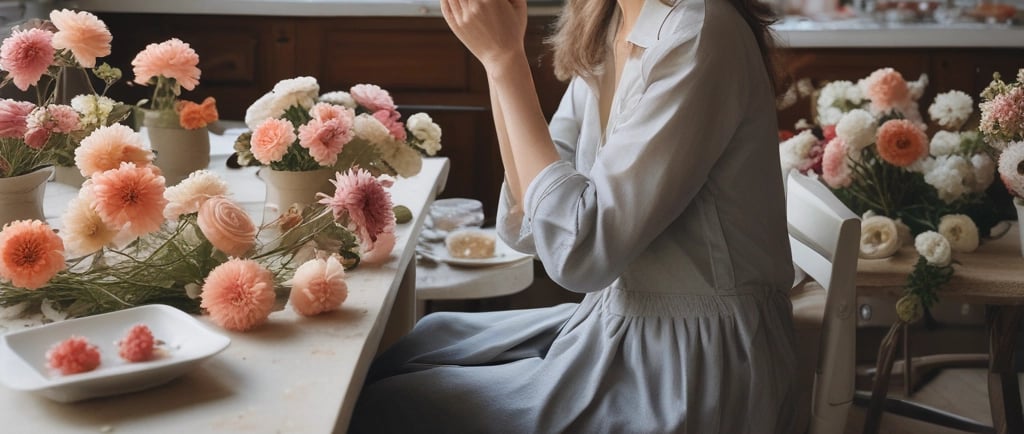
Faux Flowers: The star of the show! Go for something with some shape and texture. Roses, peonies, and ranunculus work wonderfully. You can mix and match to create a bouquet later.
Plaster of Paris: This is the key ingredient. It’s a very fine, white powder that hardens quickly when mixed with water. It's a classic for all kinds of Plaster of Paris crafts and is widely available at most craft or hardware stores.
A Container: A disposable one is best—an old plastic bowl or a large yogurt tub. Trust me, you don’t want to be scrubbing plaster out of your favorite kitchenware.
Water: Simple as that!
Something to Mix With: A disposable stir stick, an old plastic spoon, or even a paint stirrer.
Wax Paper or Parchment Paper: To protect your work surface and to lay the flowers on to dry.
Gloves: This part is important. Plaster can be drying on your skin, and it’s always a good idea to protect your hands from a messy project.
That's really it. See? I told you it was an easy craft project. Now, let's get our hands a little dirty, shall we?
The Nitty-Gritty: Your Step-by-Step Guide to DIY Plaster Flowers
Step 1: Prep Your Workspace
First things first, find a well-ventilated area and lay down a drop cloth or old newspapers. This project can get a bit messy, and you’ll be glad you took the time to protect your surfaces. Lay out a few sheets of wax paper, too; this will be your drying rack.
Step 2: Get Your Flowers Ready
This is where the real fun begins. Trim the flowers, removing any excess leaves or stems. You want to focus on the flower head itself. Some flowers have a small plastic receptacle that holds the petals together; leave this intact. If you need to, a tiny dot of hot glue can help secure any loose petals.
Step 3: Mix the Plaster
This is probably the most crucial part of the process. Pour some water into your disposable container first, then slowly sprinkle in the Plaster of Paris. The key is to add the powder to the water, not the other way around. Stir gently until it’s the consistency of a thin pancake batter or a thick, creamy yogurt. You don’t want it too thick (it'll clump up and hide all the details) or too thin (it won’t coat the flowers properly). Work fairly quickly here, as the plaster begins to harden within 10-15 minutes.
Step 4: Dip and Drip
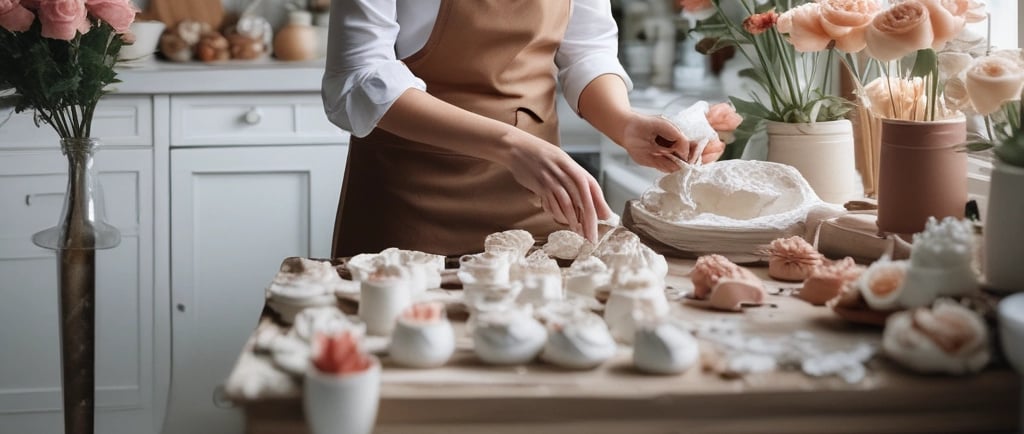
Wearing your gloves, hold a flower by its stem or what’s left of it. Gently submerge it into the plaster mixture, swirling it around to ensure every petal is coated. Don't be afraid to get a little messy here. Once coated, lift the flower and gently tap the stem on the edge of the bowl to let the excess plaster drip off. You'll see the details of the petals start to show through as the extra plaster falls away.
Step 5: Let It Dry
Lay your plaster dipped flowers on the wax paper. You can even use your gloved fingers to gently shape the petals as the plaster begins to set, fanning them out or creating a more open look. Then, leave them to dry completely. This can take anywhere from a few hours to overnight, depending on how thick the coating is. You'll know they're ready when they are hard and bone-dry to the touch.

Plaster Dipped Flowers:FAQs
How can I make my DIY plaster flowers even more special?
Well, once they're fully dry, the sky is the limit! You can leave them in their natural, chalky white state for a truly minimalist look, or you can paint them. Acrylic or watercolor paint works beautifully. You can also add a hint of shimmer with glitter or a metallic spray paint. Some people even like to tie a little twine around the stems and hang them in a small cluster for a whimsical garland.
What about adding color to the plaster itself?
Honestly, it's a bit of a mixed bag. You can try mixing in a little water-based craft paint, but it's much easier to paint the flowers after they've dried. This gives you more control over the final color and ensures it looks vibrant rather than pastel and diluted.
Are there other things I can dip in plaster?
Absolutely! This is a great technique to experiment with. I've seen people use this method to create beautiful botanical casting art with real leaves, twigs, and other natural elements. The principle is the same—a thin coating to preserve the shape and texture. Just be sure to test a small piece first to see how it works.
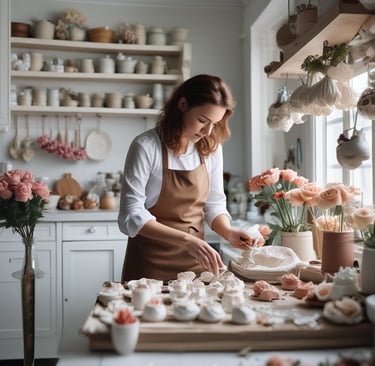
The Final Touch: Bringing Your Inexpensive Home Decor to Life
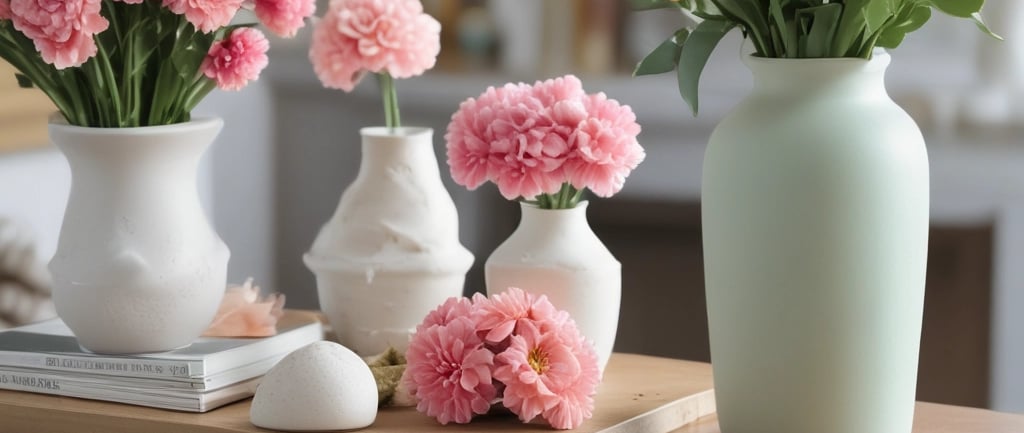
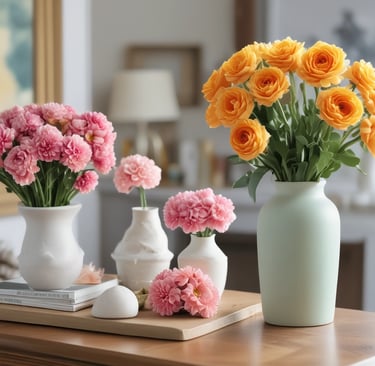
So you have a pile of these gorgeous, ghostly white flowers, now what? This is the fun part. You can arrange them in a vase for a stunning centerpiece that will last forever. They also look incredible in a shallow bowl or even glued to a rustic canvas to create a custom piece of wall art. I particularly love the idea of grouping them together in a simple ceramic pot. The contrast between the fragile-looking flowers and the hard, unyielding plaster is just so visually interesting.
This project is more than just a craft; it's a little act of preservation. It's about taking something temporary and a little bit flimsy and turning it into something strong and lasting. So go on, give it a shot. You'll be amazed at what you can create with just a little bit of plaster of Paris and a handful of dollar store flowers.
Floral
Bespoke arrangements for every cherished moment.
Nature
Artistry
Contact Us Today
We answer emails within 24 hours
© 2024. All rights reserved.